Digi Maniac

Video Editing Course

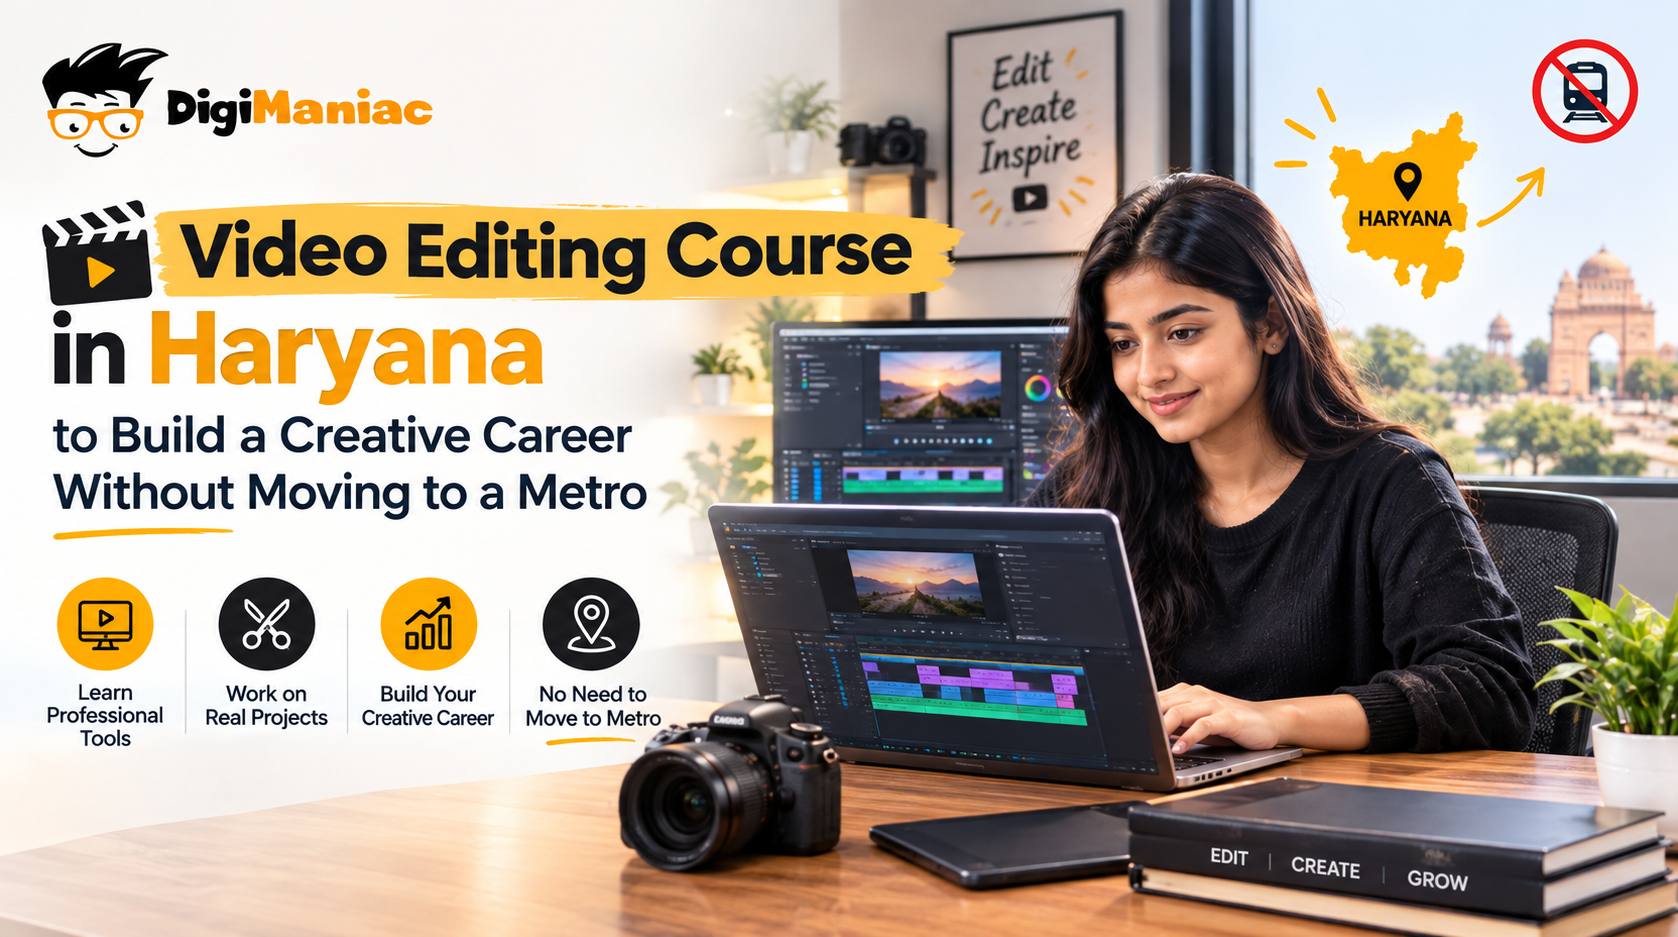
Video Editing Course in Haryana

Video Editing Course in Haryana to Build a Creative Career Without Moving to a Metro

Ever wondered how pro editors manage to get such smooth results when editing Instagram Reels, adding music to a travel video, or watching a YouTube video? This interest might be useful for a career in video-related work. Videos are prevalent these days. They are used by businesses to market products, creators to post content on social media platforms, and to create video lessons for educational institutions. Each video requires a person with the ability to shoot, enhance audio, add effects and to effectively communicate the message. But a large number of students in Haryana think that if they want to get into professional editing, then they have to shift to Delhi, Mumbai, or Chandigarh. Moving away may involve additional costs such as renting a house or apartment, buying groceries, getting around, and other costs, in addition to the course fees. The fortunate part is that this doesn’t need to happen in any metro area.  A Video Editing Course in Haryana will provide the students with professional software, hands-on experience and begin to prepare them for creative careers in their home state. However, it is crucial to know what video editing entails, what skills are important, and where to seek out training that will help you further your career objectives before deciding on a course.  Why Is Video Editing Becoming a Popular Career Choice? Think about the videos you watch throughout the day. A clothing brand publishes a product Reel, a YouTuber publishes a new vlog, and a business creates an ad for its services. These videos serve various functions, but all must be edited to appeal to interest and understanding. Video Editing is not just done for entertainment. Educational videos for schools, training videos for companies, and editing support for photographers during weddings and events.  Or, creating educational videos for schools, making training videos for companies, and providing editing support for photographers during weddings and events. This provides an opportunity for editors to work in various industries. If you like creativity and technology, then you might want to consider Video Editing, as it varies from project to project. An interview needs to be edited in a different way than a promotional reel presentation or wedding video. There are also differences in approaches to doing the work out in the field. The editors might be part of the marketing department, production company, or creative team. Others do work on a freelance basis for clients. However, in order to make a career, you must practice, be creative, and know what the project requires.  Can You Learn Video Editing Without Moving to a Metro City? The students of Ambala, Karnal, Kurukshetra, Panipat, Hisar, Yamunanagar and other cities in Haryana need not go to the big cities to learn the art of video editing. Moving to a big city can leave you feeling like you’re strapped for cash on many things. Students will have to pay their course fees, rent, and food. Rather, they may attend an institute that is close to them or attend online classes. Some of the advantages of Video Editing Training in Haryana:  For instance, they may produce Instagram Reels that promote neighborhood stores or assist wedding photographers with processing video. This will allow them to experience also learning. But only local schools should not be selected by students. They should also inspect the teachers, computers, course content and practical classes. While if you’re studying in big cities, there are more studios and job opportunities, it is possible to begin learning video editing without moving out of your hometown in Haryana.  What Will You Learn in a Professional Video Editing Course in Haryana? A Professional video editing course in Haryana is designed to help students learn how to edit their video clips into something interesting and high-quality. Students are taught cutting, adding music, colour enhancements and special effects. Here are some of the skills students should be taught:  1. Professional Editing Software Students learn how to use different video editing tools, such as: Students can begin using one tool and develop their skills to additional software. 2. Video Cutting and Storytelling For instance, if you’re creating an Instagram Reel, you might want some fast cuts with exciting music, and for a wedding, slow clips with soft music. 3. Colour Correction and Audio Editing Students will develop skills that enable them to produce professional-looking and sounding videos. 4. Motion Graphics and Visual Effects Pupils can use these skills in making YouTube videos, Instagram reels, adverts, and more. This enables them to master video editing skills on their own. Can You Join a Video Editing Course in Haryana After 12th? Yes. Students from Arts, Commerce, and Science backgrounds can pursue the Video Editing Course in Haryana After 12th. Many beginner courses are not based on any editing experience. Students can begin by developing a basic understanding of the computer, patience, and an interest in creative activities. Students who want to graduate may also study editing in conjunction with their academic program.  For instance, if you are familiar with the study of BA, B.Com, or BCA can take part in weekend classes and practise the editing in free time. Photographers, Graphic Designers, Content Creators, and Social Media Professionals who are looking to enhance their skills can also benefit from video editing. The most important thing is having an interest in learning and the patience to improve through practice.  How Much Does a Video Editing Course in Haryana Cost? The fees of the course are different from institute to institute, according to the duration, software taught, facilities provided, and the level of training. It may be cheaper to attend a short beginner course than an advanced course with motion graphics, colour grading and visual effects. But students shouldn’t choose a course due to its cost. Make sure that the fees cover computer access, software facilities, practical assignments, study material, and portfolio guidance before enrolling. In addition, consider the hours of practical training. A course that provides students with regular editing tasks and constructive

Video Editing Course in Haryana to Build a Creative Career Without Moving to a Metro Read More »
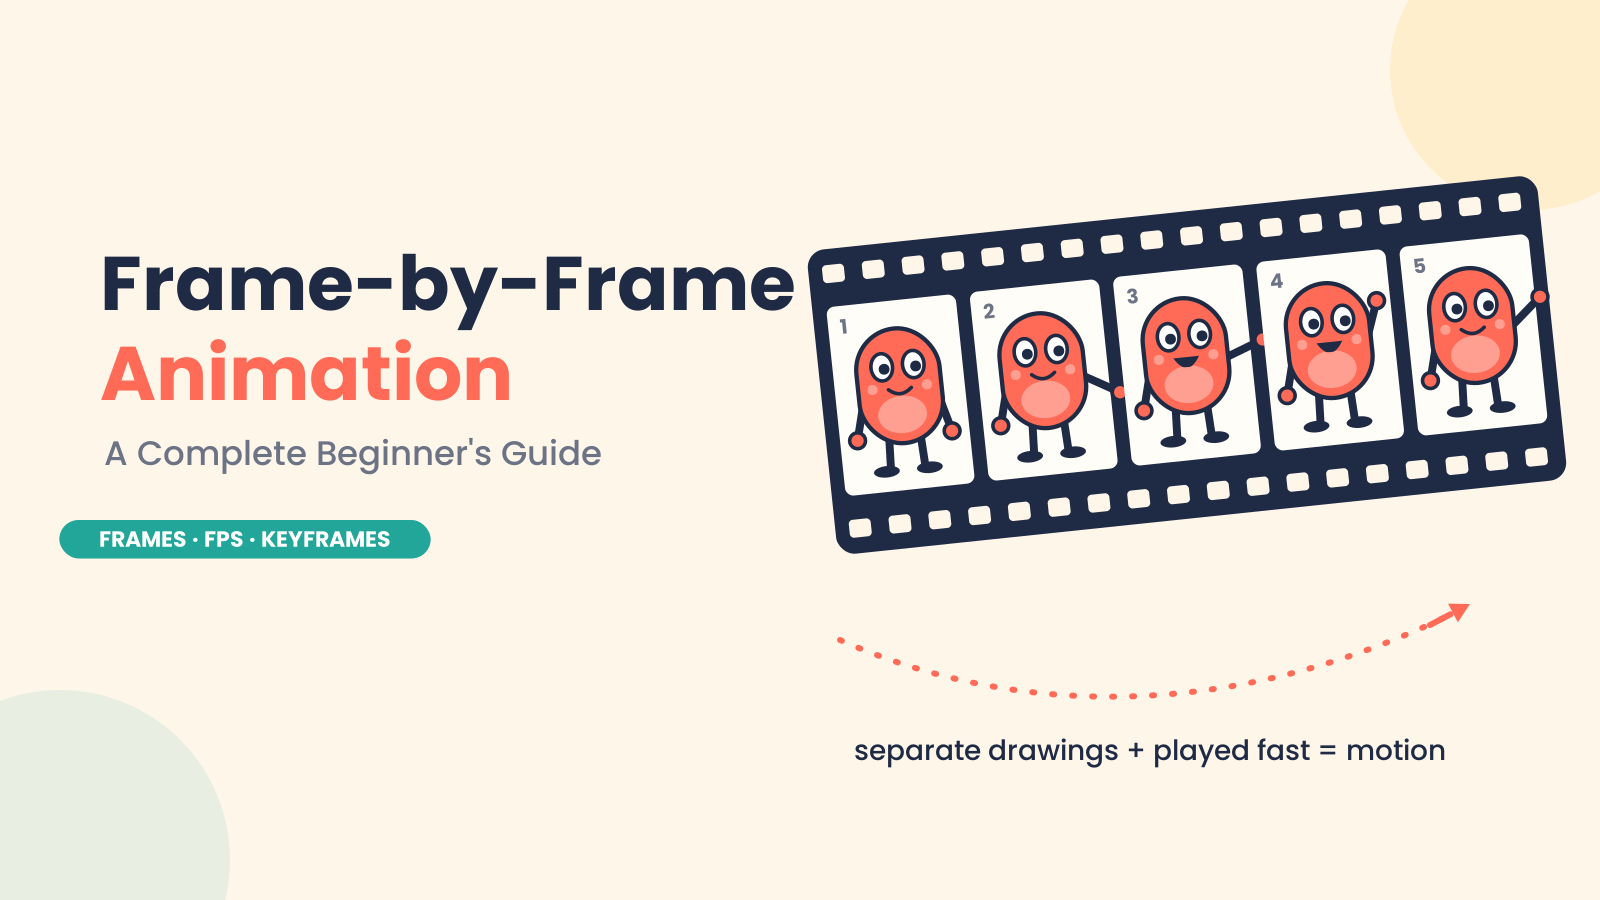
Frame-by-frame animation showing individual animation frames

What Is Frame-by-Frame Animation? A Complete Beginner’s Guide

Introduction Frame-by-frame animation is one of the oldest and most expressive ways to produce movement. Here, an animator draws each moment of an action separately. When these drawings, or frames, are shown rapidly, one after another, they give the illusion of motion. Imagine a character blinking. One frame is eyes open, one frame is eyes half-closed, and one frame is eyes closed. The blink looks natural when the frames are played in sequence. It’s the same for a waving hand, a bouncing ball, or a character raising their arm. In 2D animation, this technique is often used where every movement is carefully built frame by frame. It takes time and patience, but it gives the animator a great deal of control over timing, expression, and personality. Even today, frame-by-frame animation is still relevant. The basic concept remains the same: separate images create movement when played in order. However, modern software has accelerated the animation workflow. This is why this method is used by beginners, professional animators, and studios to produce expressive and memorable animation. What Is Frame-by-Frame Animation? Frame-by-frame animation is a technique where movement is created by drawing or changing each frame individually. The animator does not depend on automatic movement. However, the animator makes separate images for different moments of an action. A frame is a still image that is used in animation. When you play lots of frames fast in order, our eyes see them as movement. FPS, or frames per second, is the number of frames displayed in one second. For example, 24 FPS stands for 24 frames per second. Animators also use on ones and on twos. Animating on ones means each drawing appears for one frame, and this makes for a smoother motion. Animating on twos means each drawing two frames. This uses fewer drawings, but still looks natural in many types of 2D animation. A Little Bit of History: Where Frame-by-Frame Animation Began Frame-by-frame animation began with artists drawing movement by hand, one image at a time. Each drawing was slightly different from the last. When those drawings were shown quickly in sequence, the character or object appeared to move. One of the first animators to help prove the power of this technique was Winsor McCay, especially with his animated film Gertie the Dinosaur in 1914. But it was Walt Disney and the Disney studio that made animation frame by frame really popular around the world. Disney used this method to create expressive characters, smoother movement, and emotional storytelling in animation. This process came to be called traditional animation. In early studios, artists first sketched scenes on paper. Later, many productions used cel animation, where characters were painted on transparent sheets (called cels) that were laid over painted backgrounds. This avoids redrawing all the background again, and instead reduces background redraws. As animation production grew, studios developed a more systematic workflow. The senior animators drew the key poses, called the key drawings or keyframes. Then other artists would draw the frames in between to smoothly connect those poses. This meant the animation worked faster and looked clean and natural. Today, most frame-by-frame animation is created digitally, but the principle is the same. Whether the animator is drawing on paper or using software, movement is still built frame by frame. The tools have changed, but the principle of frame-by-frame is still important in 2D animation. Types of Frame-by-Frame Animation Traditional Hand-Drawn Animation The classic form of frame-by-frame animation is traditional hand-drawn animation. This technique involves drawing each frame by hand. Generally, the key frames of the action are drawn first. Important poses are called keyframes. Then artists draw the in-between drawings to bridge one key frame to the next. For example, a character may raise a hand. The keyframes may show the hand down and then fully raised. The intermediate frames show the arm moving up in steps. This method is very similar to classic 2D animation and was used in many old animated films and cartoons. Digital Frame-by-Frame Animation Digital frame-by-frame animation follows the same basic process, but the drawings are made directly inside animation software. Animators don’t draw on paper anymore. They draw on a tablet or computer screen. Digital tools make the animation workflow easier. Animators can layer, undo, copy frames, adjust timing, and see the movement right away. Onion skinning and similar techniques help, providing a faint image of previous and next frames so you can draw smooth movement. The process is still frame by frame, but it is faster and more flexible because you don’t need physical paper or cells. Stop-Motion Animation Frame-by-frame is also used in stop-motion animation, but it uses real objects instead of drawings. Animators move puppets, clay models, toys, or objects a fraction of an inch, then take a picture. They move them again and take another picture. When all those pictures are shown one after another, the object looks as if it moves by itself. The medium is different from hand-drawn or 2D digital animation, but the idea is the same: small changes from one frame to the next create motion. Frame-by-Frame Animation vs. Tweening You can create motion with frame-by-frame animation or with tweening. The process behind each is quite different. In frame-by-frame animation, the animator works on each individual frame. This allows you much more control, especially with detailed or expressive movement. For example, the animator can change the mouth, cheeks, shoulders, head movement, and timing frame by frame when a character is laughing. These small details add individuality to the character and make the action seem more organic. Tweening is another matter. The animator sets a start and end keyframe, and the software fills in the motion between them instead of moving every single frame. Tweening is very quick when it comes to actions, like moving an object, making it bigger or smaller, turning it around, or making it appear and disappear. For instance, if a box has to go from one edge of the screen to the other, the

What Is Frame-by-Frame Animation? A Complete Beginner’s Guide Read More »

Video Editing Course in Haryana

Video Editing Course in Haryana for Beginners to Build Practical Skills

Video is now a part of everyday life—whether for education, shopping, marketing a business, or sharing information online. YouTube channels post in-depth videos, brands create product videos for promotion, and social media pages rely on Reels and Shorts to keep them busy. All this content is accompanied by an editing process that transforms raw footage into something that people can view and understand. Hence, video editing skills have become a handy skill for students, content creators, freelancers, and digital marketing practitioners. But editing is not just about cutting a scene and putting a song on it. The key to a good edit is selecting the right shots, pacing the film, enhancing the sound, and using colour when appropriate. When thinking about a video editing course in Haryana, it is important to know what exactly the training has to offer and what type of work with video editing is possible after the basic training. Why Video Editing Skills Are Useful Today The demand for video is not limited to films or television anymore. A local business may need a short product Reel, a coach may want videos for an online course, and a YouTube creator may need someone to edit hours of recorded footage into one finished video. The work also changes with the content. A promotional video may need product shots, branding and motion graphics. An interview requires attention to dialogue and audio. A social media Reel usually depends on quick cuts, captions and a strong opening. This variety gives video editors several areas to explore. Someone may prefer short-form social media content, while another person may enjoy long-form YouTube videos, advertisements, events or post-production work. What Do You Learn in a Video Editing Course? A beginner usually starts with the basic tools before moving into more detailed editing work. The first few lessons may cover file formats, resolution, frame rates, aspect ratios and timeline management. These basics become important when the same footage has to be prepared for different platforms. Cutting and sequencing come next. Students learn how to remove unwanted portions, arrange shots, work with multiple clips and create a smooth sequence. From there, the training can move into areas such as: The aim is to understand how an edit is built rather than simply learning where a particular button is located. What Happens During a Real Editing Project? Suppose a creator records a 30-minute interview. The camera may have captured several takes, pauses, mistakes and repeated answers. The editor first reviews the material and selects the usable sections. The selected clips are then placed in order. If there are two camera angles, the editor can switch between them at suitable points. Background noise may need attention; the speaker’s voice has to remain clear, and supporting footage can be added where it makes sense. The final stage may include captions, titles, colour adjustments, music and export. A short promotional video follows a different process. There may be only a few seconds to show the product, explain its benefit and display the brand message. The cuts therefore have to be much tighter. This is one reason practical video editing training matters. The same software can be used for very different projects, but the editing decisions are not the same. How YouTube, Reels and Ads Require Different Editing The platform and purpose of a video can change almost every part of the edit. YouTube videos usually give the editor more time to build a story. Long pauses, repeated statements and unnecessary footage can be removed, while B-roll, graphics and music can be added to support the main content. Instagram Reels and Shorts work with a much shorter format. Vertical framing, captions, quick cuts and visual changes are commonly used to keep the content moving. Advertisements need to communicate a message within a limited time. Product shots, branding, text, music and a call to action have to fit together without making the video feel crowded. Educational videos have another requirement: clarity. The viewer should be able to follow the explanation, so screen recordings, diagrams, highlighted text and voice-over may be more useful than heavy visual effects. Learning these differences is an important part of becoming comfortable with video editing. Software Used in Video Editing and Design Software is one of the first things people check when comparing a video editing course for beginners. However, different applications handle different parts of the creative process. Adobe Premiere Pro is used for editing, cutting, sequencing and working with audio and visual elements on a timeline. DaVinci Resolve combines video editing with colour correction, colour grading and audio post-production. Adobe After Effects is mainly used for motion graphics, animation and visual effects. It can be used for animated titles, logo reveals, text effects and other graphics. Video editors also work with supporting visual material. This is where design applications can become useful. Adobe Photoshop can be used for thumbnails, image editing and graphics. Adobe Illustrator and CorelDRAW are useful for vector artwork, logos and illustrations. Adobe InDesign is mainly used for page layouts and publishing work, while Figma is commonly used for interface and collaborative design. Knowing some of these tools can be helpful when a project requires more than edited footage. How AI Is Changing Video Editing Work AI tools are now being added to several parts of the editing workflow. Depending on the software, they can assist with tasks such as transcription, automatic captions, background removal, masking, footage search and some repetitive editing work. For example, an editor working with a long interview can use transcription to find a particular part of the conversation more quickly. Automatic captions can also reduce the amount of manual typing required for short-form content. These tools can save time, but they do not decide how the final video should look. The editor still needs to select the right footage, check the accuracy of captions, control the pacing and make creative decisions. For beginners, understanding the regular editing process first makes it easier to see where AI

Video Editing Course in Haryana for Beginners to Build Practical Skills Read More »

How to edit long YouTube videos faster with AI

How to Edit Long YouTube Videos Faster With AI

An Edit long YouTube videos rarely becomes difficult because of one complicated editing task. The time disappears in dozens of small decisions: finding the right take, watching another version of the same answer, removing a false start, searching for B-roll, tightening a transition, fixing uneven audio, and checking whether the story still works after every cut. AI can help with much of that work, but the most useful approach is not to ask it to make the entire video for you. A better workflow gives AI the repetitive parts of post-production while the editor stays responsible for the story. That distinction becomes especially useful for interviews, podcasts, tutorials, reviews, documentaries, and other videos that regularly run 20, 30, or 60 minutes. Here is how to build that workflow. Start Where the Time Actually Goes Before adding AI to an editing process, identify the parts of the job that are consuming the most time. For many long-form videos, the bottleneck is not colour grading or adding transitions. It is footage review. Imagine recording a one-hour interview with three takes of several answers. Add a second camera, B-roll, a few screen recordings, and some pickup shots. The editor now has a large amount of material to inspect before deciding what belongs in the timeline. That first pass can be reduced with AI. Instead of treating every clip as something that has to be watched from beginning to end, use tools that can understand the contents of the footage and help locate usable material. The objective is simple: get from raw media to an editable first timeline faster. Give AI an Editorial Brief, Not Just a Command The quality of an AI-assisted edit depends partly on the quality of the direction it receives. “Edit this interview” leaves too much open to interpretation. A useful brief might say: “Keep the strongest answer for each topic, remove repeated explanations and false starts, preserve useful stories, and keep the speaker’s natural delivery. Aim for a concise but complete discussion rather than the shortest possible version.” That gives the editing system an editorial framework. You can also define things such as the intended audience, approximate duration, important topics, sections that should be retained, and material that can be removed. This does not mean the AI understands the story exactly as an experienced editor would. It means the editor has given it enough context to perform the mechanical parts of the first pass more effectively. Let the First Cut Be Imperfect One of the biggest workflow changes AI can introduce is making the first assembly less expensive. A traditional first pass might involve watching every take, comparing performances, cutting unwanted material, and building the sequence manually. An AI editing agent can take on some of that initial assembly. The invideo editor is a web-based video editor that allows you to bring footage into a timeline-based project and give an editing agent instructions for how the material should be assembled. A script or transcript can be added when available. The agent can review the footage, select usable takes, remove repetition and filler, and place the selected material into an editable timeline. That last part matters. The goal is not to receive a mysterious finished video and hope the decisions are correct. The first assembly gives the editor something concrete to inspect. Weak selections can be replaced. Sections can be shortened. The order can change. Think of it as moving the starting point of the edit forward. Make Footage Searchable Long-form projects become particularly slow when the editor knows a useful clip exists but cannot remember where it is. You might remember that someone talked about pricing around the middle of an interview. Or that there was a shot of a particular product somewhere in three hours of camera footage. This is where semantic footage search becomes useful. Instead of searching filenames or manually scrubbing through clips, describe the moment you need. Depending on the editing system, AI can help identify dialogue, people, actions, objects, scenes, or other meaningful elements. That changes the editing process from: “Where is that clip?” to: “Find the moment where the guest explains how the product is used.” For large projects, that difference can remove a surprising amount of friction. Treat the Timeline as the Source of Truth Once AI has assembled a first version, move back into the timeline. This is where creative judgment becomes more important than automation. Watch the sequence from the beginning. Look for places where the edit technically works but does not feel right. Maybe the AI chose the cleanest take, but another take has better energy. Maybe it removed a pause that gave the speaker’s answer some weight. Maybe two sections are logically correct but should appear in the opposite order. These are editorial decisions. An AI editing workflow should make them easier to make, not remove them from the process. This is also why timeline-based AI editing is different from simply generating a video. The editor can see the actual cuts and continue working with them. Use AI for the Small Decisions That Add Up After the main structure is in place, there are dozens of smaller tasks that can still consume time. This is where targeted AI assistance becomes useful. Ask it to: None of these tasks necessarily defines the creative identity of the video. But together, they can occupy a large portion of an editor’s day. The useful principle is to automate the execution, while retaining control over the decision. Don’t Cut Long Videos Just to Make Them Shorter AI makes it easy to remove material. That does not mean every long-form video should become aggressively fast. A 40-minute educational video may need context. An interview may need pauses. A documentary may benefit from a slower transition between ideas. The question is not whether a section can be removed. Ask whether removing it makes the video better. A useful review pass focuses on four things: Repetition If the same idea is explained three times, keep

How to Edit Long YouTube Videos Faster With AI Read More »

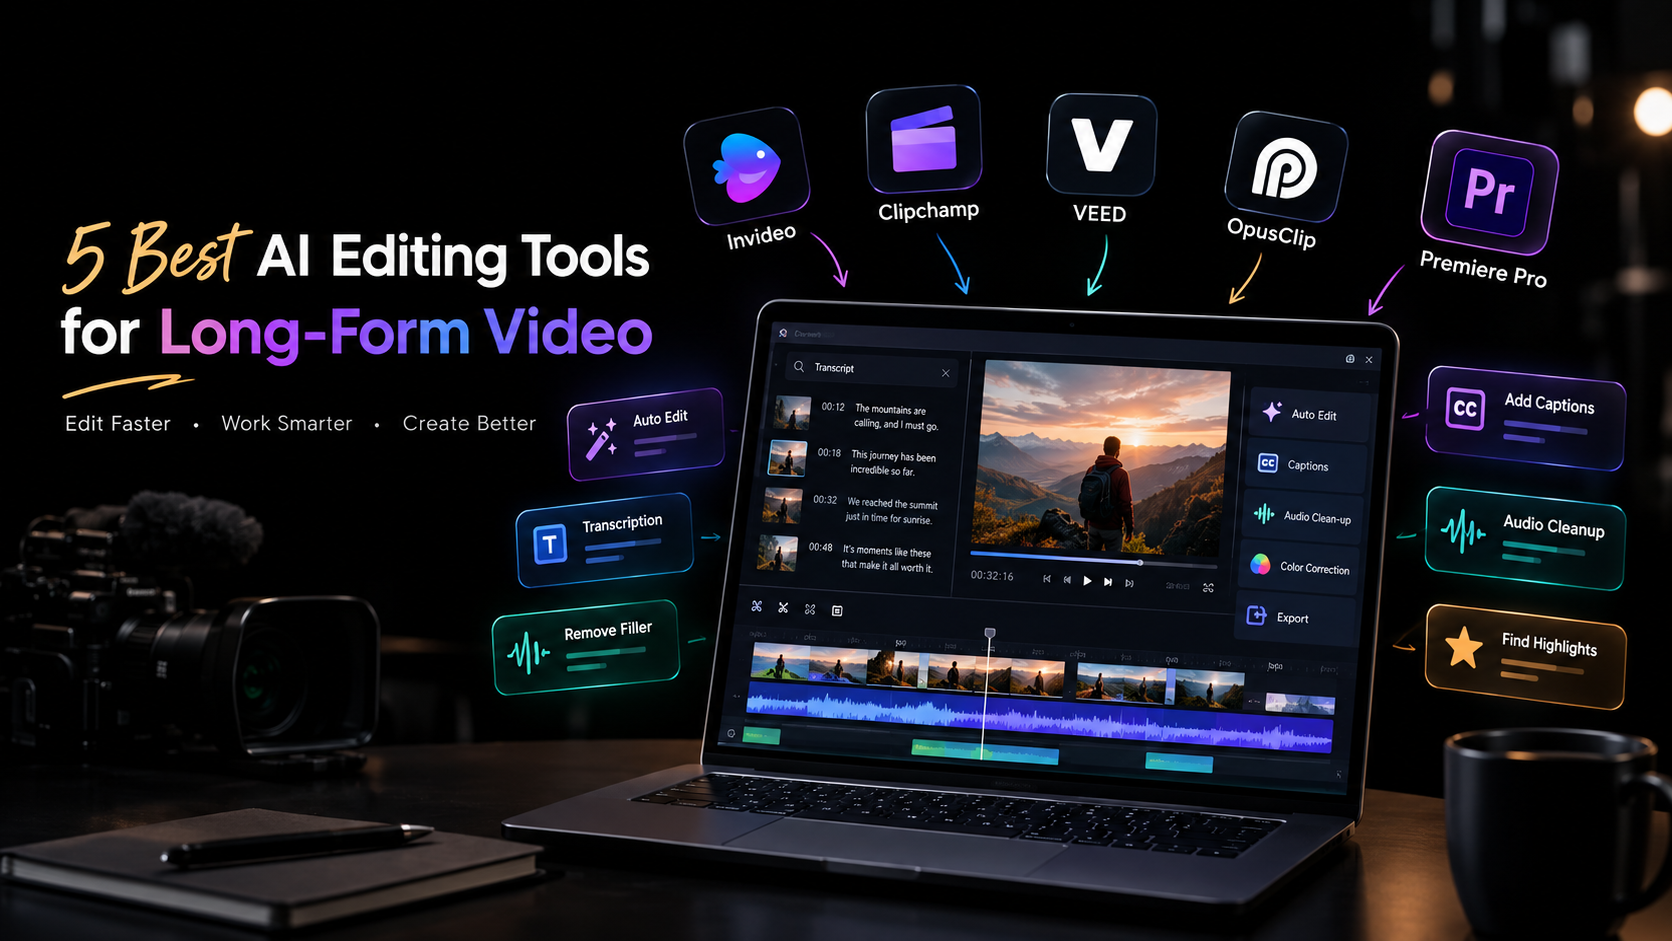
5 best AI video editing tools for speeding up professional video editing

5 Best AI Tools for Speeding Up Professional Video Editing

Professional video editing involves far more than making cuts. Before the creative decisions begin, editors may need to review hours of footage, compare takes, organize clips, remove false starts, clean dialogue, sync multiple cameras, build versions, and prepare the project for delivery. AI can help with some of that workload, but the useful question is not whether a tool can “edit a video for you.” For professional work, the bigger question is where AI can remove repetitive execution while leaving the editor in control of the story and timeline. This guide looks at five AI video editing tools that approach that problem differently. Some are better suited to raw-footage assembly, some to dialogue-driven projects, and others to broader post-production or short-form content. Understanding those differences can help you choose tools that actually fit your editing workflow. What Makes an AI Video Editing Tool Useful for Professionals? Speed does not simply mean making individual edits faster. A tool can save more time by reducing the amount of manual work required before and between creative decisions. For professional editors, useful AI capabilities include: The right combination depends on what is slowing down your current workflow. 1. Invideo Editor Invideo editor is designed around a workflow where AI editing agents can work directly with uploaded footage and an editable timeline. As an AI video editing platform, it brings agent-based assistance into the editing process while keeping the timeline and creative decisions in the editor’s hands.  That makes it particularly relevant when the slowest part of a project is getting from raw footage to a usable first assembly. Instead of manually watching every take and building the initial timeline yourself, you can provide footage, a script or transcript when available, and direction for the type of base cut you want. An agent can review the material, select usable takes, remove repetition and filler, and assemble the selected video and audio on the timeline. The result is not intended to replace the editing process. It gives the editor a starting point that can be inspected, changed, and refined. This approach can work with several common types of footage. A single-camera interview can be assembled by keeping each point once and removing repeated attempts. With multicam footage, the workflow can involve syncing angles and creating a layered cut. Music-led projects can also be assembled around a supplied structure or beat pattern. The timeline remains central to the process. Editors can continue making manual changes, redirect the agent, and work through the rest of the edit. The tool also brings AI assistance into other parts of post-production. Editors can search footage semantically, work on pacing and duration, create versions, and handle tasks involving audio, colour, dubbing, and localization. For colour work specifically, editors can describe a desired treatment to an agent or provide a reference image, then refine the result using controls such as colour wheels, curves, temperature, tint, saturation, and LUTs. That can be useful when the goal is to speed up an initial grade without giving up manual control over the final look. Best suited to: Editors who want to reduce the manual work involved in reviewing footage and building an initial timeline while keeping the project editable. 2. Adobe Premiere Pro Adobe Premiere Pro is built around a conventional professional editing workflow, with AI features added to assist with specific parts of the process. For editors working on established production pipelines, that distinction can be important. Rather than changing the entire editing process, AI can help accelerate individual tasks such as finding media, working with transcripts, handling dialogue-related operations, and making certain adjustments. Premiere Pro is particularly useful when the editor already has a structured workflow and wants automation within that environment. You can still work with tracks, effects, audio, colour, graphics, and detailed timeline edits while using AI where it makes sense. The biggest time savings may come from reducing small repetitive tasks across a large project. When those tasks are repeated hundreds of times, even modest automation can make a noticeable difference to the overall workflow. Best suited to: Professional editors who already use Adobe’s ecosystem and want AI assistance without moving away from a traditional timeline-based editing environment. 3. DaVinci Resolve DaVinci Resolve combines editing, colour, visual effects, motion graphics, and audio post-production in a single application. Its AI features can assist with different stages of the workflow, including media organization, subject isolation, tracking, dialogue-related tasks, and other technical operations. The value for professional editors is that these capabilities sit alongside detailed manual controls. Colour grading is a particularly important part of the workflow for many editors and colourists. Once the structure of a sequence is established, AI-assisted tools can help with technical or repetitive operations while the editor retains control over the visual treatment. Resolve can therefore reduce the need to move between separate applications for different stages of post-production. For larger projects, keeping editing, colour, effects, and audio in one environment can simplify the overall workflow. Best suited to: Editors and post-production teams handling projects where editing, colour, VFX, and audio all require detailed control. 4. Descript Descript takes a different approach by connecting video editing with a transcript. This can significantly change how editors handle spoken-word content. Instead of searching through a timeline to find a particular sentence, you can work from the transcript to locate and edit dialogue. That makes it useful for interviews, podcasts, webinars, presentations, and talking-head videos. AI-assisted transcription and tools for removing filler or unwanted sections can reduce some of the repetitive work associated with cleaning up long recordings. For example, an editor working through a one-hour interview may spend substantial time locating repeated statements, pauses, or sections that need to be removed. A transcript-based workflow can make those decisions much faster to identify. It is less suited to projects where the edit depends heavily on visual rhythm, complex effects, detailed multicam work, or music-driven cutting. In those cases, a conventional professional timeline may remain the primary workspace. Best suited to: Editors

5 Best AI Tools for Speeding Up Professional Video Editing Read More »

Use AI for Video

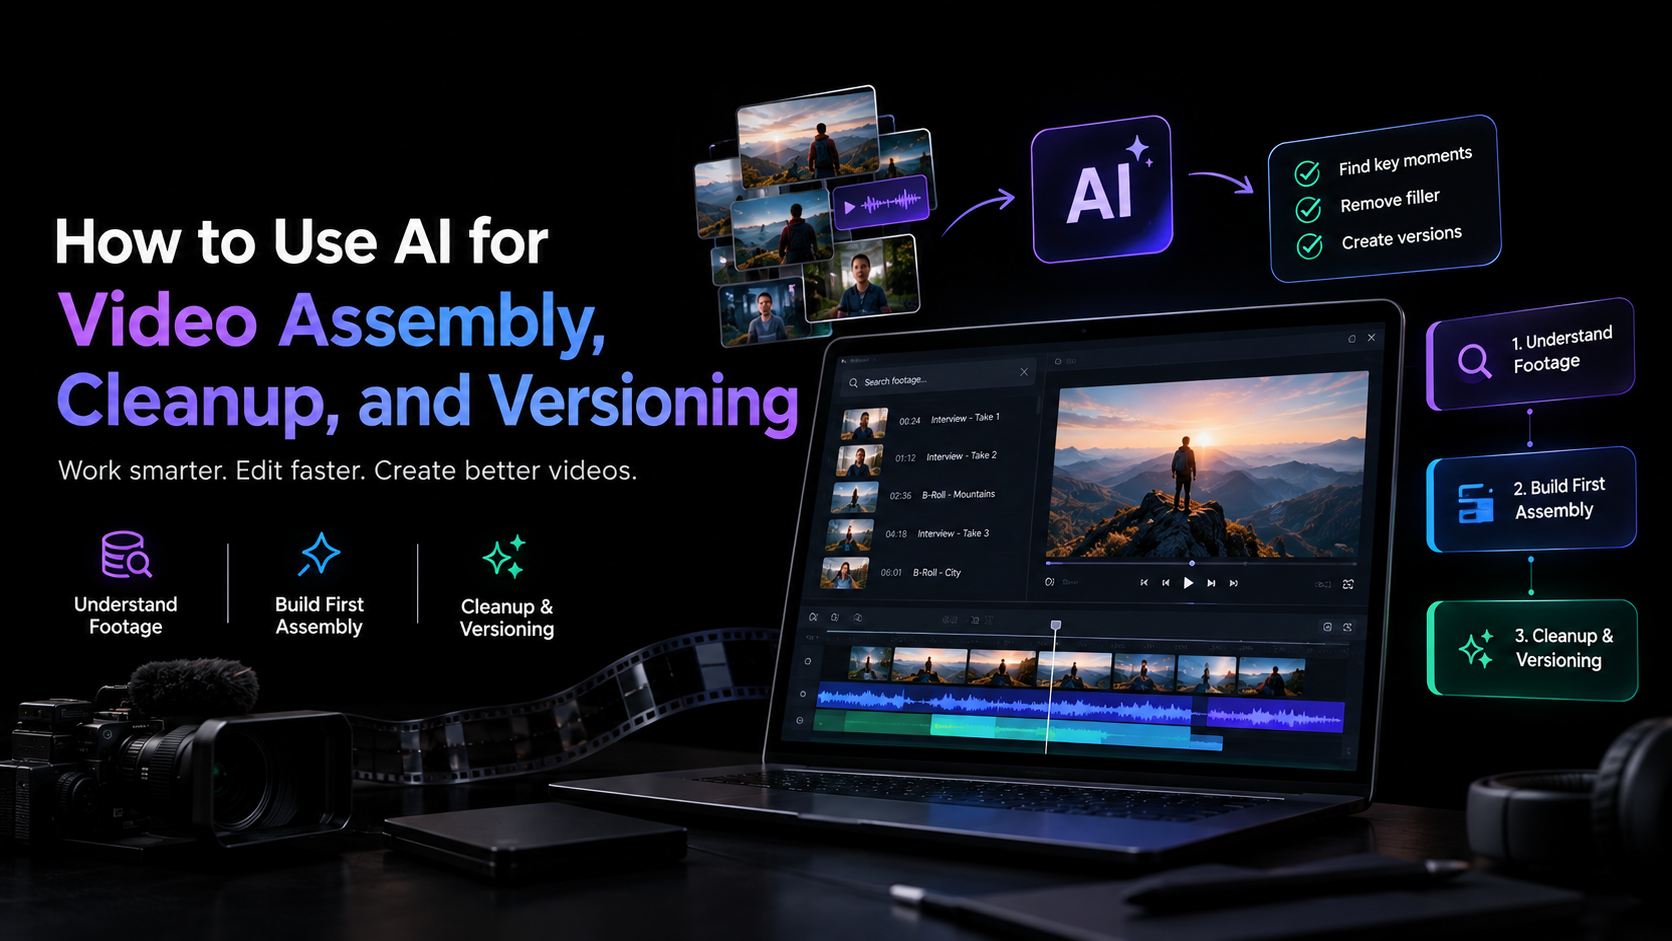
How to Use AI for Video Assembly, Cleanup, and Versioning

Video editing often takes longer than expected because the hardest part is not always the creative decision. It is everything that happens around it. An editor may spend hours reviewing duplicate takes, finding a usable line in a long interview, removing pauses, syncing camera angles, preparing different versions, and making small changes across multiple deliverables. These tasks are necessary, but they can consume time that would otherwise go into story, pacing, and visual decisions. AI can help by taking on parts of that execution. The most useful workflows do not ask AI to replace the editor. Instead, they use it to understand footage, assemble a starting point, clean up repetitive material, and create variations that the editor can inspect and refine. This guide explains how to use AI for Video across those three stages and where human judgment should remain central. Start With Footage Understanding Before AI can assemble an edit, it needs to make sense of the material. A typical project might contain several takes of the same scene, hours of interview footage, B-roll, music, multiple camera angles, or generated and existing media. Manually reviewing everything is often one of the most time-consuming parts of post-production. AI-assisted editing can reduce this initial workload by making footage searchable and easier to navigate. Instead of scrubbing through a long recording, an editor can search for a specific person, scene, action, topic, or moment using natural language. For dialogue-heavy projects, transcripts can also make it easier to locate specific statements and compare different sections of a recording. This does not mean every AI-selected clip should automatically make the final cut. The goal is to shorten the distance between a large media pool and the material worth reviewing. Use AI to Build the First Assembly The first assembly is where AI can take on a substantial amount of repetitive work. A base cut is the first complete version of a timeline assembled from usable footage. It is not a highlights reel or a finished edit. It gives the editor a coherent starting point that can be reviewed and shaped further. A practical AI video assembly workflow looks like this: This is where in video editor can help, bringing an agentic video editing platform into an AI-assisted editing workflow. Its AI editing agents can work directly with uploaded footage and an editable timeline. An agent can review source material, select usable takes, remove repetition, and assemble a base cut based on the direction provided. The workflow can accommodate different types of projects. A scripted single-camera recording can be assembled around the script, while unscripted footage can be organized around the points discussed. Multicam material can be synchronized and assembled into a layered cut. The important part is that the result remains inside the editing project. With invideo editor, the editor can inspect the assembled timeline, replace selections, change pacing, and continue refining the cut rather than treating the AI output as a finished file. Use AI for Cleanup, Not Creative Judgment Once the first assembly exists, cleanup becomes the next opportunity for automation. Cleanup can include removing false starts, repeated sentences, long pauses, filler words, unusable takes, or sections that do not contribute to the sequence. AI can identify many of these patterns faster than a person reviewing footage from beginning to end. But cleanup is not purely mechanical. A pause might be unnecessary in one interview and essential in another. A repeated sentence might sound better than the technically cleaner take. A slightly imperfect performance may carry more character than a polished replacement. For that reason, AI cleanup works best when it gives the editor a cleaner starting point rather than making irreversible editorial decisions. Keep the Timeline Editable The difference between useful automation and frustrating automation often comes down to control. If AI removes something, the editor should be able to inspect the decision and change it. If it selects one take, there should be a way to replace that take. If it changes the pacing, the editor should still be able to adjust the timing. This is particularly important for professional projects where the edit may go through several rounds of review. Invideo editor takes this timeline-based approach by keeping the agent’s work inside the project. Editors can continue working manually after an agent completes its assigned task, which makes AI assistance part of the editing process rather than a separate generation step. Improve the Picture and Sound After Assembly AI can also assist with technical cleanup once the structure is in place. Audio workflows may include dialogue cleanup, sound effects, mixing, and mastering. Visual finishing can involve exposure correction, colour balancing, matching shots, and creating a consistent look across a sequence. For example, an editor working with footage recorded under slightly different lighting conditions may need to correct temperature, tint, exposure, contrast, saturation, and highlights and shadows before final delivery. An AI-assisted workflow can start with a plain-language instruction. An editor might describe a warmer, softer look or provide a reference image, then refine the result manually using colour wheels, curves, LUTs, or other controls. Invideo editor supports this combination of AI direction and manual control. An editor can describe the desired treatment to an editing agent or provide a reference image, then refine the grade using controls such as Lift, Gamma, Gain, exposure, contrast, temperature, tint, saturation, RGB curves, and hue-based curves. This can be particularly useful when several shots need a consistent visual treatment. The AI can help establish the direction, while the editor decides how the final footage should look. Create Multiple Versions From One Edit Versioning is another area where AI can save repetitive work. A single master video may need several deliverables: Creating these manually can mean returning to the same timeline repeatedly. Instead, treat the master edit as the source and define what each version needs to accomplish. AI can then help identify sections, adjust durations, rearrange sequences, or prepare different cuts. With video editor, AI agents can be used alongside the timeline

How to Use AI for Video Assembly, Cleanup, and Versioning Read More »

5 Best AI Editing Tools for Long-Form Video

5 Best AI Editing Tools for Long-Form Video

Long-form video editing becomes difficult when the footage starts piling up. A one-hour interview can contain multiple takes, pauses, repeated answers, background noise, and sections that never make the final cut. A documentary or YouTube production can create an even larger organizational problem. AI editing tools can help reduce that workload. Depending on the platform, they can search transcripts, remove filler, assemble footage, clean up audio, generate captions, or identify shorter clips within a longer recording. But not every AI editor is built for the same kind of work. Some focus on traditional timeline editing, others are designed around browser-based collaboration, and some specialize in turning long recordings into short-form content. Here are five tools worth considering. What to look for in an AI editing tool Start with the part of editing that consumes the most time. If you spend hours reviewing footage, look for AI-powered search, take selection, and assembly. If your projects are mainly interviews or podcasts, transcription and dialogue editing may matter more. For professional productions, timeline control, color grading, audio tools, and multicam workflows become important. Also consider what happens after AI makes its changes. Long-form projects rarely stay unchanged, so being able to inspect, modify, and refine an automated result is just as important as the automation itself. 1. Invideo Editor Invideo editor uses AI editing agents to work directly inside a professional timeline. Its agentic assembly workflow focuses on the early stage of long-form editing, where hours of raw footage need to become a usable base cut. Upload your footage, add a script or transcript if available, and describe the structure you want. The agent can review takes, remove repetition and filler, and assemble selected footage into an editable timeline. It can also work with multicamera material and create a layered cut. The workflow continues beyond assembly. Editors can manually refine the timeline or give the agent additional instructions. For finishing, the editor includes color wheels, exposure and contrast controls, temperature, tint, curves, LUTs, qualifiers, saturation controls, and waveform scopes for detailed color work. 2. Clipchamp Microsoft Clipchamp takes a more accessible approach to video editing, making it suitable for creators, teams, and users who want to edit without adopting a complex professional application. Its browser-based workflow supports common editing tasks alongside AI-assisted features such as automatic captions, text-to-speech, and tools for working with recorded content. These features can be useful when turning longer recordings into finished videos for presentations, social channels, or internal communication. For long-form projects, Clipchamp makes sense when straightforward editing and easy access matter more than advanced post-production control. It can handle the practical work of assembling footage, adding text and audio, and preparing content for distribution. Editors working on highly complex timelines may eventually need more specialized tools, but Clipchamp offers a relatively simple starting point for longer creator and business videos. 3. VEED VEED is a browser-based editor that combines conventional video editing with AI-assisted tools. It is particularly useful for creators and marketing teams that need to edit, caption, resize, and prepare content without relying on a desktop-only workflow. Long-form recordings can be edited with tools for subtitles, transcription, audio improvements, and other common production tasks. Once a main video is finished, the same project can also be adapted into content for different platforms. Its browser-based setup can be useful for distributed teams because projects do not have to stay tied to a single editing workstation. VEED is a practical option for content teams producing interviews, tutorials, webinars, and marketing videos where speed and accessibility are important. For projects requiring extensive professional color grading or highly complex timeline work, a more specialized editor may provide greater depth. 4. OpusClip OpusClip approaches long-form editing from a different direction. Instead of primarily helping you finish the original long video, it focuses on finding shorter, usable pieces inside longer recordings. This makes it particularly relevant to content repurposing. A podcast, interview, webinar, or recorded presentation can contain several moments that work independently as short videos. OpusClip uses AI to identify potential highlights and turn them into shorter clips. Its workflow is therefore less about traditional long-form post-production and more about extracting additional content from footage you already have. For creators who publish across YouTube, Instagram, TikTok, and other short-form channels, this can save the time normally spent reviewing an entire recording to find suitable sections manually. It works best as part of a broader content workflow rather than as a replacement for a full professional editing environment. 5. Adobe Premiere Pro Adobe Premiere Pro remains a full professional editing environment, with AI-assisted features added alongside its established timeline workflow. For long-form projects, that depth matters. Editors can work with complex sequences, multicamera footage, audio, effects, graphics, and multiple versions while retaining detailed control over individual edits. AI features can assist with areas such as transcription, dialogue-based editing, media workflows, and other repetitive tasks. Rather than changing the entire editing process, these tools can speed up individual stages while the editor continues working in the familiar timeline. Premiere Pro is particularly relevant when a project needs to move beyond basic editing into more involved post-production. The learning curve is higher than browser-based editors, but the trade-off is a broader professional toolset for editors who need detailed control. How to choose the right tool The best AI editing tools depends on what happens before, during, and after your first cut. For raw-footage assembly: Invideo editor is worth considering if you want AI agents to review footage and create an editable starting timeline. For straightforward browser editing: Clipchamp and VEED provide accessible workflows for creators and teams working with longer recordings. For turning long videos into short clips: OpusClip is focused specifically on identifying and producing short-form content from longer recordings. For complex professional projects: Premiere Pro provides deeper timeline and post-production control. Think about the type of footage you handle most often rather than choosing based on the number of AI features listed on a product page. A podcast editor, documentary

5 Best AI Editing Tools for Long-Form Video Read More »

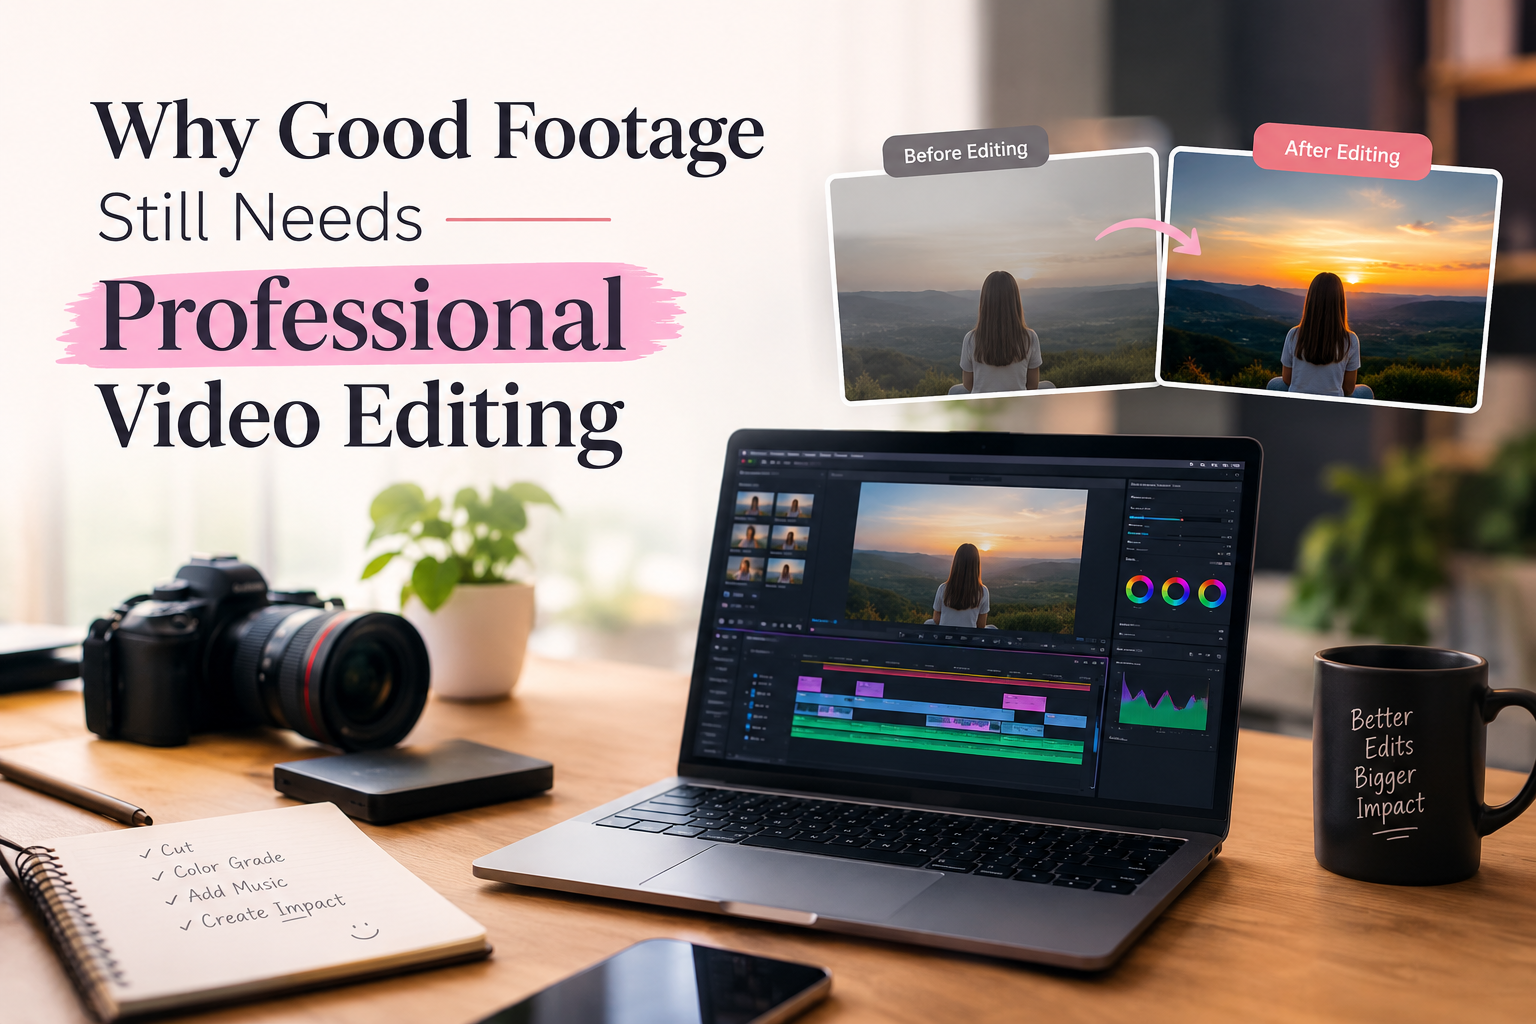
Professional video editing improves good footage for a polished final video

Why Good Footage Still Needs Professional Video Editing?

As we all know, in this digital era, most people are interested in social media platforms where they can post their daily schedules, shorts, videos, and blogs. For this reason, editing plays an important role. A camera can capture beautiful shots, clear images, and interesting moments, but raw footage is still just the beginning. Many people think that if the footage looks good, there is no need for professional editing.  However, even high-quality footage can feel incomplete when the clips are not properly arranged, the audio is uneven, or unnecessary parts are left in the final video. This is where Video Editing Services can make a real difference. Professional editing helps bring all the individual clips together, improve the overall quality, and create a smooth video that communicates the right message. Good Footage Is Only the Beginning Good footage makes a good video, but shooting good footage is only the start. No matter how high-quality your video is, or how well-lit or beautiful the backdrop of your shot, without good video editing, you might not have a professional-looking video. Video Editing Services can use your footage to produce a visual story that is nice to look at and easy to follow. By editing clips together, trimming excess footage, improving sound quality, inserting music that complements the clip, adjusting the color, and inserting a few effects, a video editor can help you produce a video that will keep the eyes of the viewers glued to the screen.Video is everywhere. If you do any type of business, have a social media presence, or have a brand of your own, then you will know that it is important to use video to promote, entertain, or educate your audience. So Why Does Good Footage Sometimes Fall Short? Good footage is a must, but it is just 1 of the various parts you want to have to make a very good online video. The choice of clips, its editing, and how it looks can change the overall quality of the ultimate online video. Here are ten explanations of why professional online video editing can distinguish between an average and a properly completed online video. 1. Choosing the Right Shots for Your Video When you create a video, you’re going to have a lot of footage. Some of it may be unnecessary, parts of it may be too long, and some clips may not fit well with the other parts. For example, take a product video. You could have footage of the product from various perspectives, close-up shots, and wide-angle shots of the product. With great footage, if you don’t end up using it properly and in sequence, your product video ends up being choppy or lagging. A Professional Video Editor can review the footage to select the appropriate clips. They can decide which shots should be used and where each clip should appear. Good footage gives the video editor good building blocks, while editing creates a proper structure for those building blocks. 2. Editing Gives a Good Flow One of the main reasons that even excellent footage still requires professional video editing is how the footage is arranged. It is not necessary for every video to follow a story structure, but it should have a progression that is easy for the viewer to follow. For a social media short, the content should progress smoothly and interestingly. A Professional Video Editor will know which shot to place first, when to cut between shots, when to switch to a different scene, and how long each shot should be. All of these are vital factors in the overall viewing experience of the film. Good Video Editing Services will not only be concerned with the aesthetic of a film but also its accessibility and viewer enjoyment. 3. Eliminates Unnecessary Parts Removes the excess material in your unedited videos. Your unedited footage can have mistakes and sections of the video that weren’t meant to be in the finished version. There could be long silences, repeats, portions where the audio/video wasn’t quite ready, or segments where the video is doing nothing. This can make your finished video appear slow. An editor can go through the footage and remove all the bits that aren’t necessary and only keep the bits that help tell the story or get the message across. This is another aspect of Video Editing Services that is best done by professional editors. It takes an editor a long time and patience to watch hours of footage and identify only the good parts. Experienced editors will chop a video down by cutting out all the unnecessary parts. 4. Better Editing Improves Sound Quality Video can sometimes be more difficult to achieve than quality audio. What can ruin a good video is the audio. You can hear strange ambient noises, volume fluctuations, wind noise, jumbled voices, and/or sharp changes in volume. Good quality video editing will combat these problems by removing the ambient noise, balancing the volumes, and bringing out the voice and/or music. Music can add mood to a video as well. A slow and soft music track can add a relaxed atmosphere to a promotional video, while lively music can add energy to an action-packed video. A Video Editing Company can harmonise the audio and video so that the material is more consistent and pleasing to the eye. 5. Color Correction Produces Consistent Footage Video shots may have different colors or brightness levels, which can be distracting. Some shots seem very warm, and some seem very cool. Some shots are too dark, and some are too light. Once we know what looks natural, color grading is used to create the style or mood that you want to achieve. That is, you can tell it to look very warm, very cool, or any combination of the two.Even after color correction and color grading, the shots are the same, but they appear more consistent with one another. Therefore, this is a stage of video post-production where the footage of the

Why Good Footage Still Needs Professional Video Editing? Read More »

Graphic Design Institutes in Panipat Support Creative Career Paths!

Graphic Design Institutes in Panipat Support Creative Career Paths!

Out here, where screens shape how we see things, understanding creativity feels less like a choice. Every shop, every name people recognize, needs images that speak before words do. That quiet moment when someone notices your work first – that’s what drives many young minds in Panipat toward designing paths after classes end. Sketching ideas, playing with tones, reshaping pictures – these aren’t just hobbies anymore. When color pulls you in, when arranging shapes brings calm, maybe it’s time to walk into one of those known design classrooms scattered through the city. Most folks’ graphic design institutes in Panipat offer affordable classes, making it easier for more people to join without stress. Not far off, graphic work draws interest because openings often arise across fields. Picture crafting marks for brands, visuals on shops, or digital art online – options stretch wide through experience levels. Graphic Design: A Common Career Choice Nowadays, more businesses want eye-catching visuals just to stay visible online. A corner bakery down the street wants them, so does any big firm with offices everywhere. Banners on sites need a sharp look before anyone clicks through. Ads must grab attention fast, even when people scroll quickly. Packaging draws hands toward shelves without saying much. Social updates work better if colors and shapes match correctly. Tiny images preview videos while standing out in crowds. Names mean little unless paired with strong logos made by someone who knows how. Picture this. A world opens up when you learn graphic design – doors swing wide across fields like ads, tech, TV, print shops, and even web promotion spots. Finish training? Suddenly, offices want you. Some folks skip the office life altogether. They set up shop at their kitchen table, building logos or layouts for clients far away. Cash comes in through screens, quietly, while they stay right where they are. Most learners lean toward Graphic Design Institutes in Panipat because they mix imagination with digital tools. Not stuck in a loop of the same tasks, they dream up fresh visuals each morning. Creativity stays active when tech meets original thinking on a screen. Each project feels different – no two days look alike. Ideas take shape through software, sketching, and problem-solving. The work moves beyond routine into something built by hand and mind. Choosing the Right Institute Matters Right choices matter when learning new skills. Not just tools – good schools show how ideas like layout, fonts, brand identity fit together through real tasks. One place might teach a program. Another explains why things look the way they do. Most top graphic design institutes in Panipat mix classroom lessons with doing things firsthand. Because of live tasks, building a collection of work, or tackling actual client jobs, learners practice what they learn. Confidence grows alongside skills when students face realistic challenges early on. Checking trainer experience matters first. Course length might surprise some. Software used in lessons makes a difference, too. Support after finishing the program helps later on. Finishing certificates hold weight sometimes. Learning by doing sticks is better than theory alone. Placement help can change outcomes quietly. Skills Learned in Graphic Design Courses Picture making gets clearer when schools show both crafty tricks and smart methods. Some places teach the real software artists who actually click through every day. Some important skills include: Adobe Photoshop Training With Photoshop, graphic design becomes accessible to many learners worldwide. Starting here, students explore photo editing alongside poster layouts. Social media visuals come into focus after mastering basic adjustments. Instead of skipping steps, they build skills by crafting banners step by step. Image touch-ups follow naturally once fundamentals are clear. Digital drawings emerge later in the learning path. Adobe Illustrator From sketching logos to shaping brand visuals, Illustrator handles clean, resizable artwork. Its strength lies in crafting detailed illustrations that stay sharp at any size. Designers rely on it when building identity systems for companies. Smooth lines, precise shapes – these come naturally here. Work meant to scale without blur finds its home in this tool. CorelDRAW Some schools offer CorelDRAW lessons focused on printed materials like brochures. Others teach it for making business cards, using different methods each time. A few include pamphlets in their coursework, depending on the program’s structure. Flex banners sometimes appear, too, shaped by local demand and instructor preference. Typography and Color Theory Most folks diving into graphic design spend time learning about typefaces and hues. Picking letters carefully can shape how people feel when they see a layout. Colors bring mood to the surface, guiding eyes without words. One choice leads to another – contrast here, spacing there. How things look ties back to why they work the way they do. Branding with Social Media Design These days, companies rely heavily on social platforms to spread their names. Because of this shift, graphic design institutes in Panipat have begun covering topics such as Instagram visuals, catchy YouTube thumbnails, attention-grabbing ads, and brand-building strategies that shape how brands look and feel. Career Paths Following Graphic Design Once training ends at the well-known graphic design institutes in Panipat, graduates step into many work options. Digital fields open different positions based on what someone can do and how much they’ve done it. Among the choices people often pick are jobs like these. Some learners mix graphic design with digital marketing know-how, boosting job options along with income potential. Not everyone follows this path, yet it opens doors through added abilities. Pairing these fields often leads to more roles being available later on. Skills in both areas tend to support stronger financial outcomes over time. Learning Graphic Design in Panipat Fresh chances to learn keep popping up in Panipat, where class fees stay easier on the wallet than big city schools. Students now lean toward this place for career-focused courses that don’t demand high payments. The major benefits include: Affordable Course Fees Starting small, many graphic design institutes in Panipat offer low-cost programs for learners just beginning. Because of this,

Graphic Design Institutes in Panipat Support Creative Career Paths! Read More »